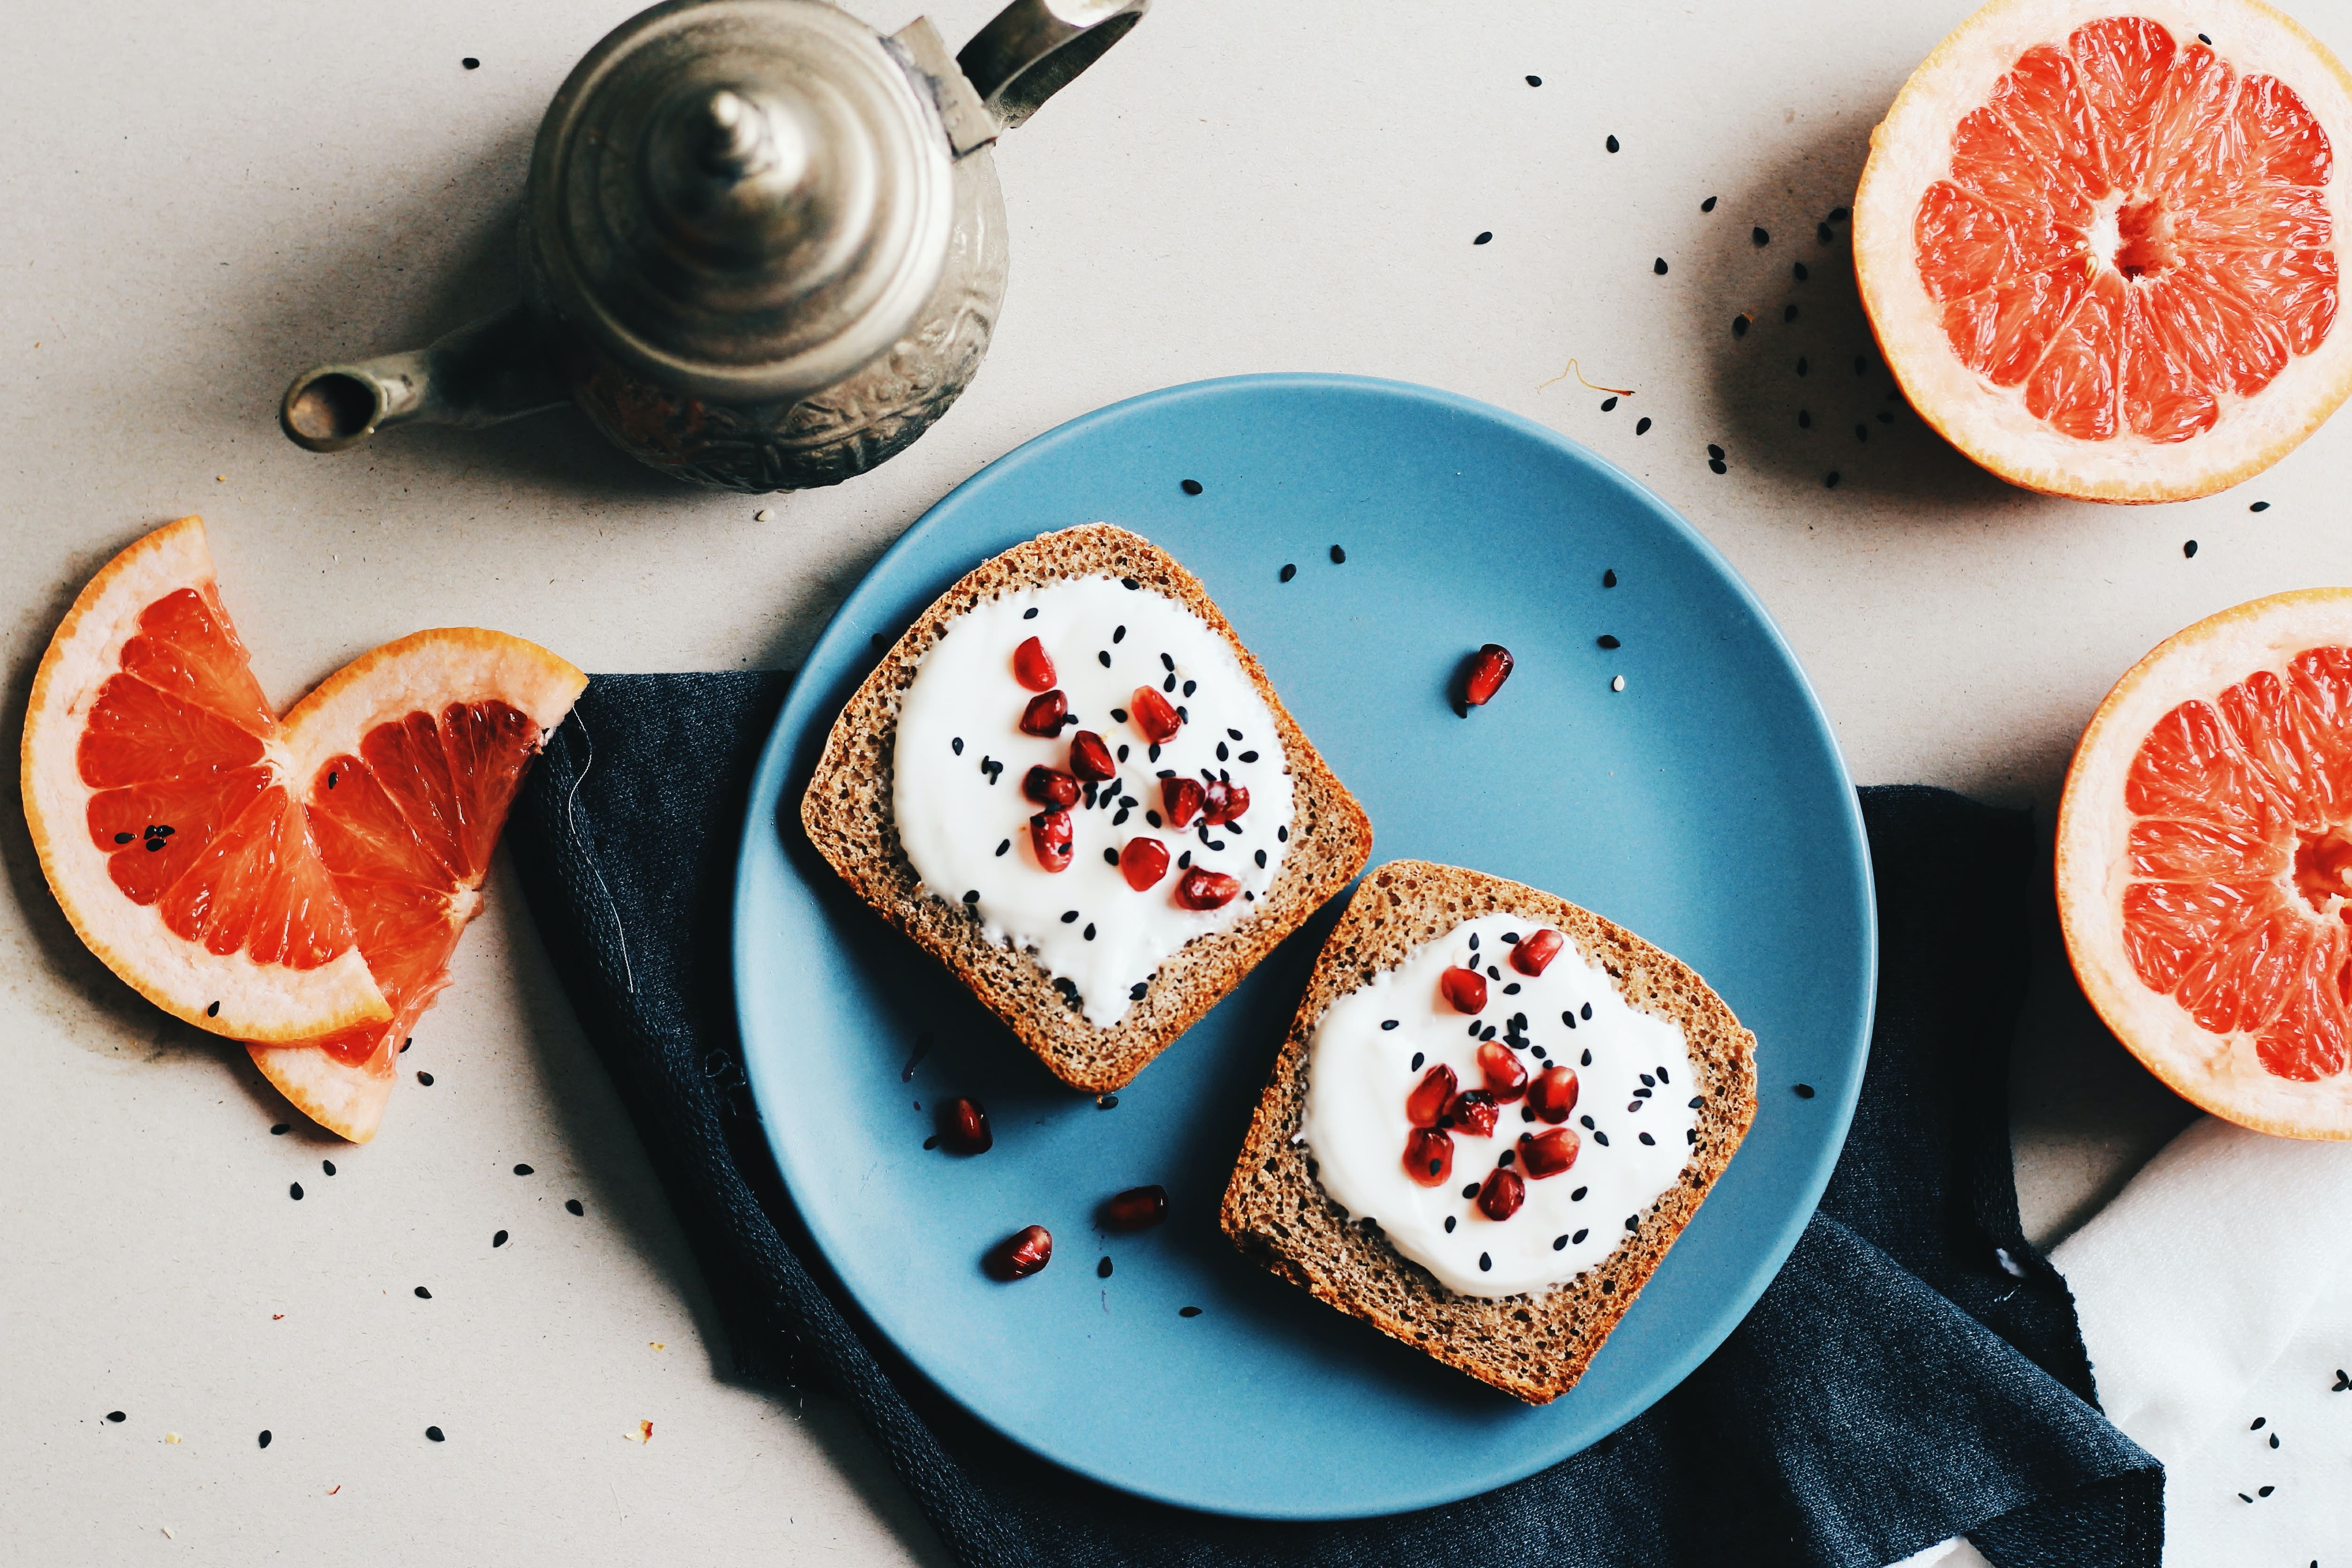
A picture is worth a thousand words. And when it comes to restaurant food photography, it could be worth a thousand customers too. The perfect pasta pull, a gorgeous brunch flat lay, a mouthwatering pancake close-up – one look and we’re ready to book.
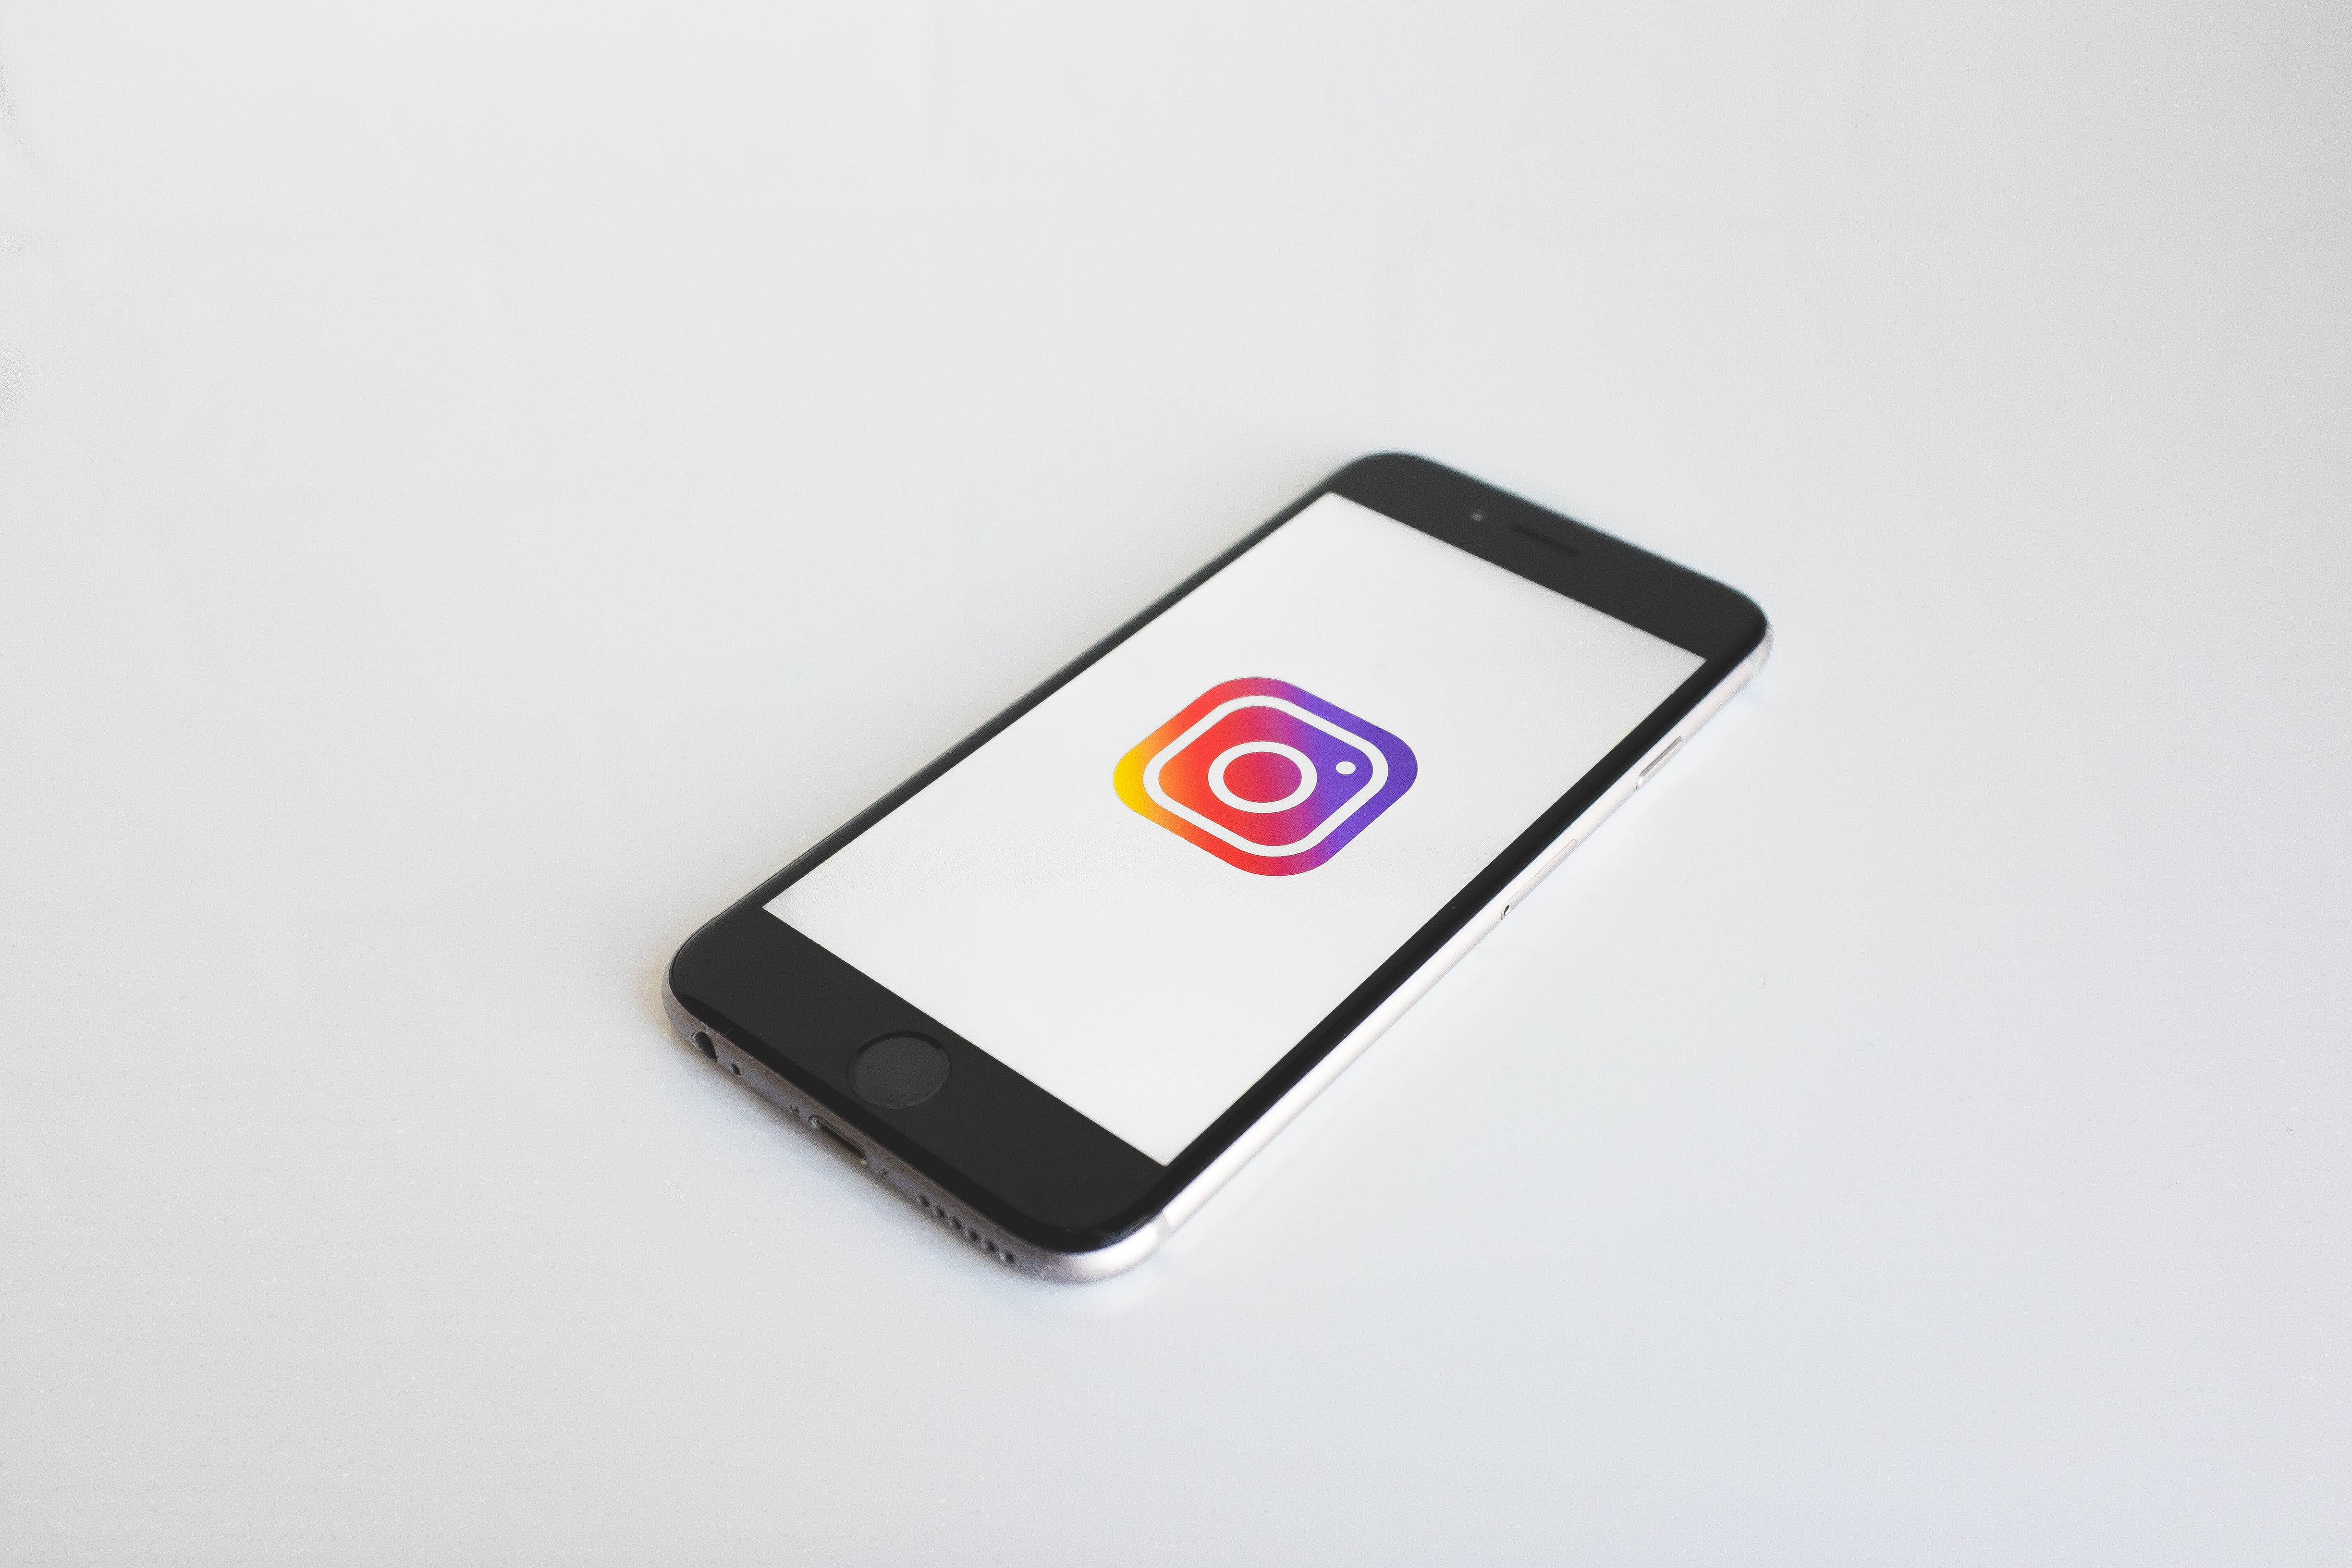
The COVID-19 pandemic forced us to permanently eat in for months on end, reminiscing on pre-pandemic photographs, with a tempting Instagram feed filling up our post-lockdown dining lists. We could look but not touch.
With our feeds influencing where we ached to go for the most Instagrammable (or simply drool-worthy) dishes, staying ahead of the picture-taking game has never been more important to restauranteurs.
Want to take a great picture of your dishes that attracts a generous footfall to your restaurant? Then keep on reading for our top restaurant food photography tips. Your best food photos are just moments away.
Why is food photography important?
In the present day, it’s imperative for hospitality owners to up their food photography game in order to stand out in an already oversaturated social media pool filled with food bloggers, home cooks, and content creators whose entire focus is on photographing food… Daily.
No social media marketing plan in 2021 will be complete without a gorgeous portfolio of reservation-inspiring photos. In a world where our average attention span can hardly pass the eight-second mark* you need to communicate faster than ever before.
On the plus side, this is one trend that you can hop on without breaking the bank. Yet, it will have a significant impact on your revenue. You simply need to learn the top food photography tips to get you started.
Business Advice: Tips for photographing food in your restaurant
Now you know what makes a good photograph great, it’s time to turn this into practice. Simply follow these food photography tricks and see your restaurant’s Instagram feed flourish.
Camera
The best camera is the one you’ve got. If that’s just an iPhone it’s better to start there, than to not start at all. However, it’s more bookings and an increased footfall we’re after, so investing in a DSLR might be a good idea when it comes to restaurant photography. You can’t beat the quality and it is high quality that we want. Plus, investing in a DSLR means you can control things like the shutter speed (this speed can control how much light hits the sensor) and aperture (the width of the lens opening). More on that later.
Lighting
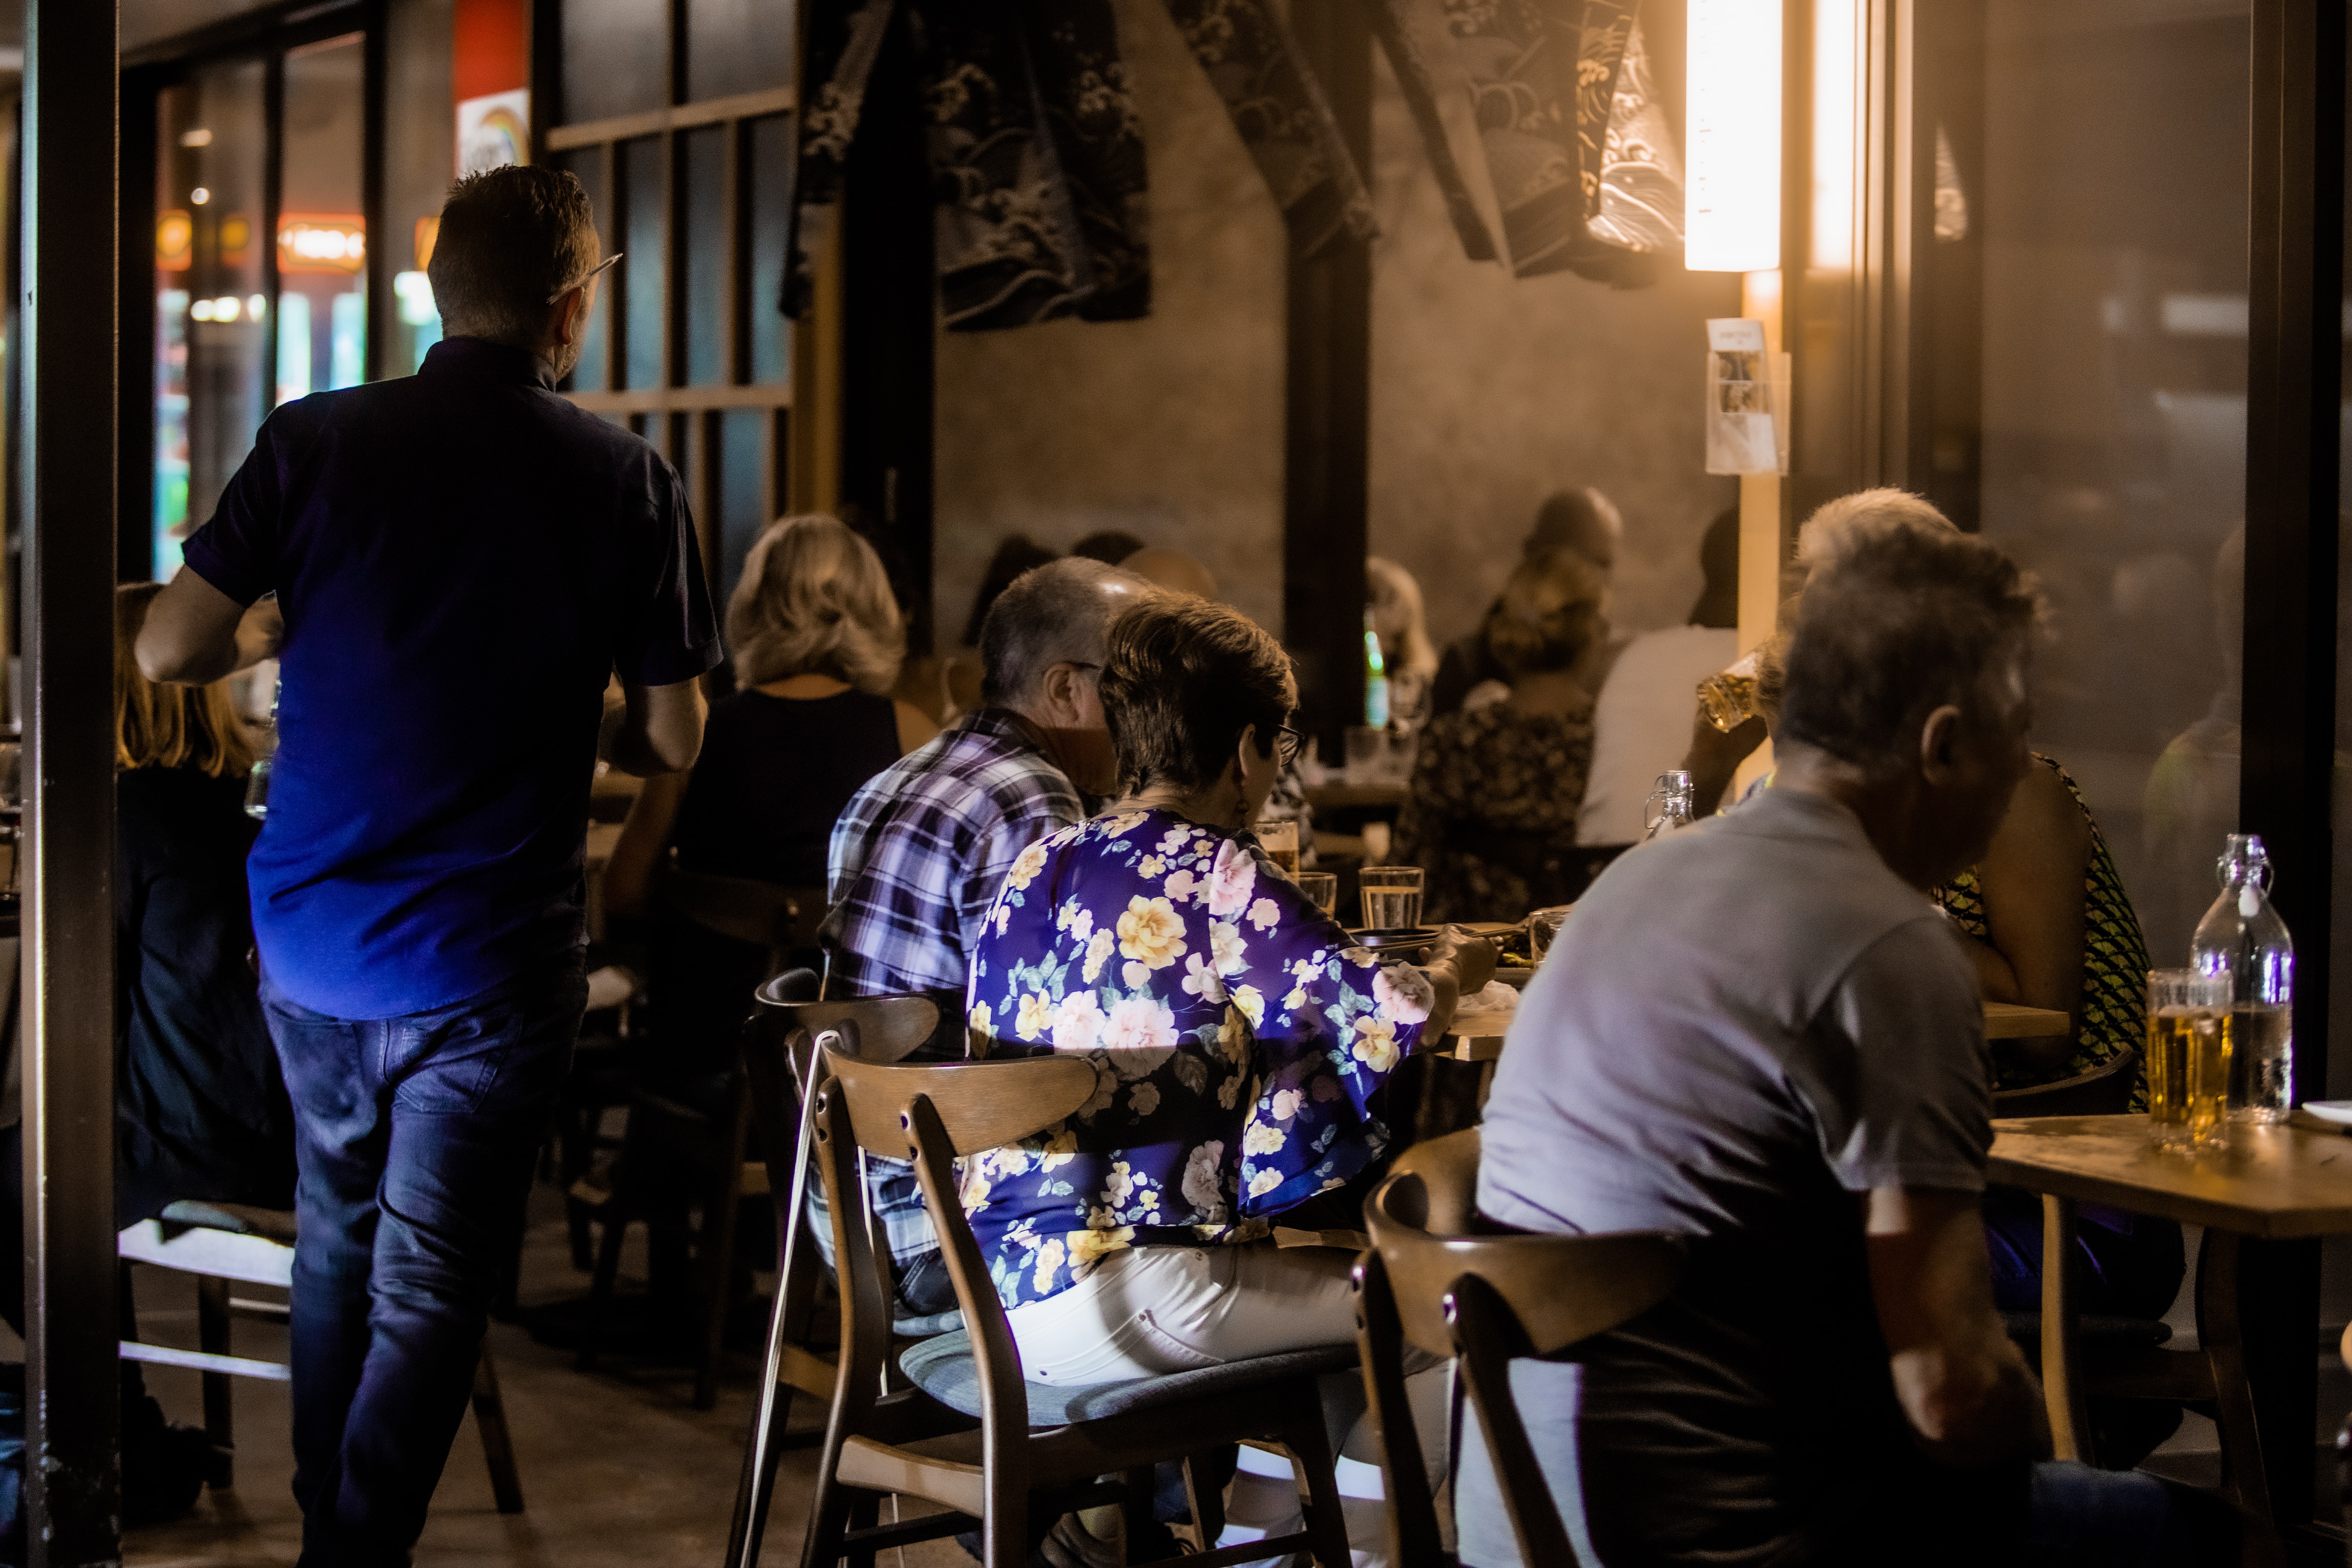
When it comes to photographing food, natural light is your best friend. And that’s a relationship you want to nurture. Make the most of the daylight and avoid using your in-camera flash. When it comes to restaurant photography in particular, step away from the kitchen and select your best table for your food photoshoot. By best we mean the ones near the window, but not directly in the sunlight. The harsh indoor kitchen light might cast a yellow tint over your pictures, while your more secluded tables might look romantic in person, but make for dark images and awkward shadows over your stunning dishes.
Don’t underestimate the direction the light comes from either. Backlit lighting is a popular choice when it comes to photographing food. The light will come above and behind your dish. Make sure you never stand with the light behind you as this is the perfect recipe for an unwanted shadow cast over your dish.

Aperture
Get your camera out and play around with the aperture. As we briefly mentioned above, this refers to the size of the hole in the lens that lets light in. Think of the aperture as your pupils: the wider it is, the more light will enter the camera.
In order to work with this setting, you’ll need to get on a first-name basis with f-stops as they measure the size of the hole. The lower the f-stop, the wider the aperture. A low f-stop will also create a deeper shadow – great if you want your perfect egg yolk to be the only thing in focus, while the rest of the image is blurred out. In other words, you’ll make that star detail of your plate sing.
Setting
Set the aperture to low, adjust your shutter speed and white balance, and get really specific with your camera setting. Keep taking photos and switching up the settings in between to get it just right. This is what will turn your good food photography great as auto mode simply won’t cut it when you’re looking for the perfect shot.
Location
You guessed it: it’s all about the light. Take that perfectly plated dish out of the kitchen and hunt the table that’s near a window, yet not completely sun-drenched. You may shoot outside, but again, consider positioning the food in the shade to avoid an overcast image.
Zoom
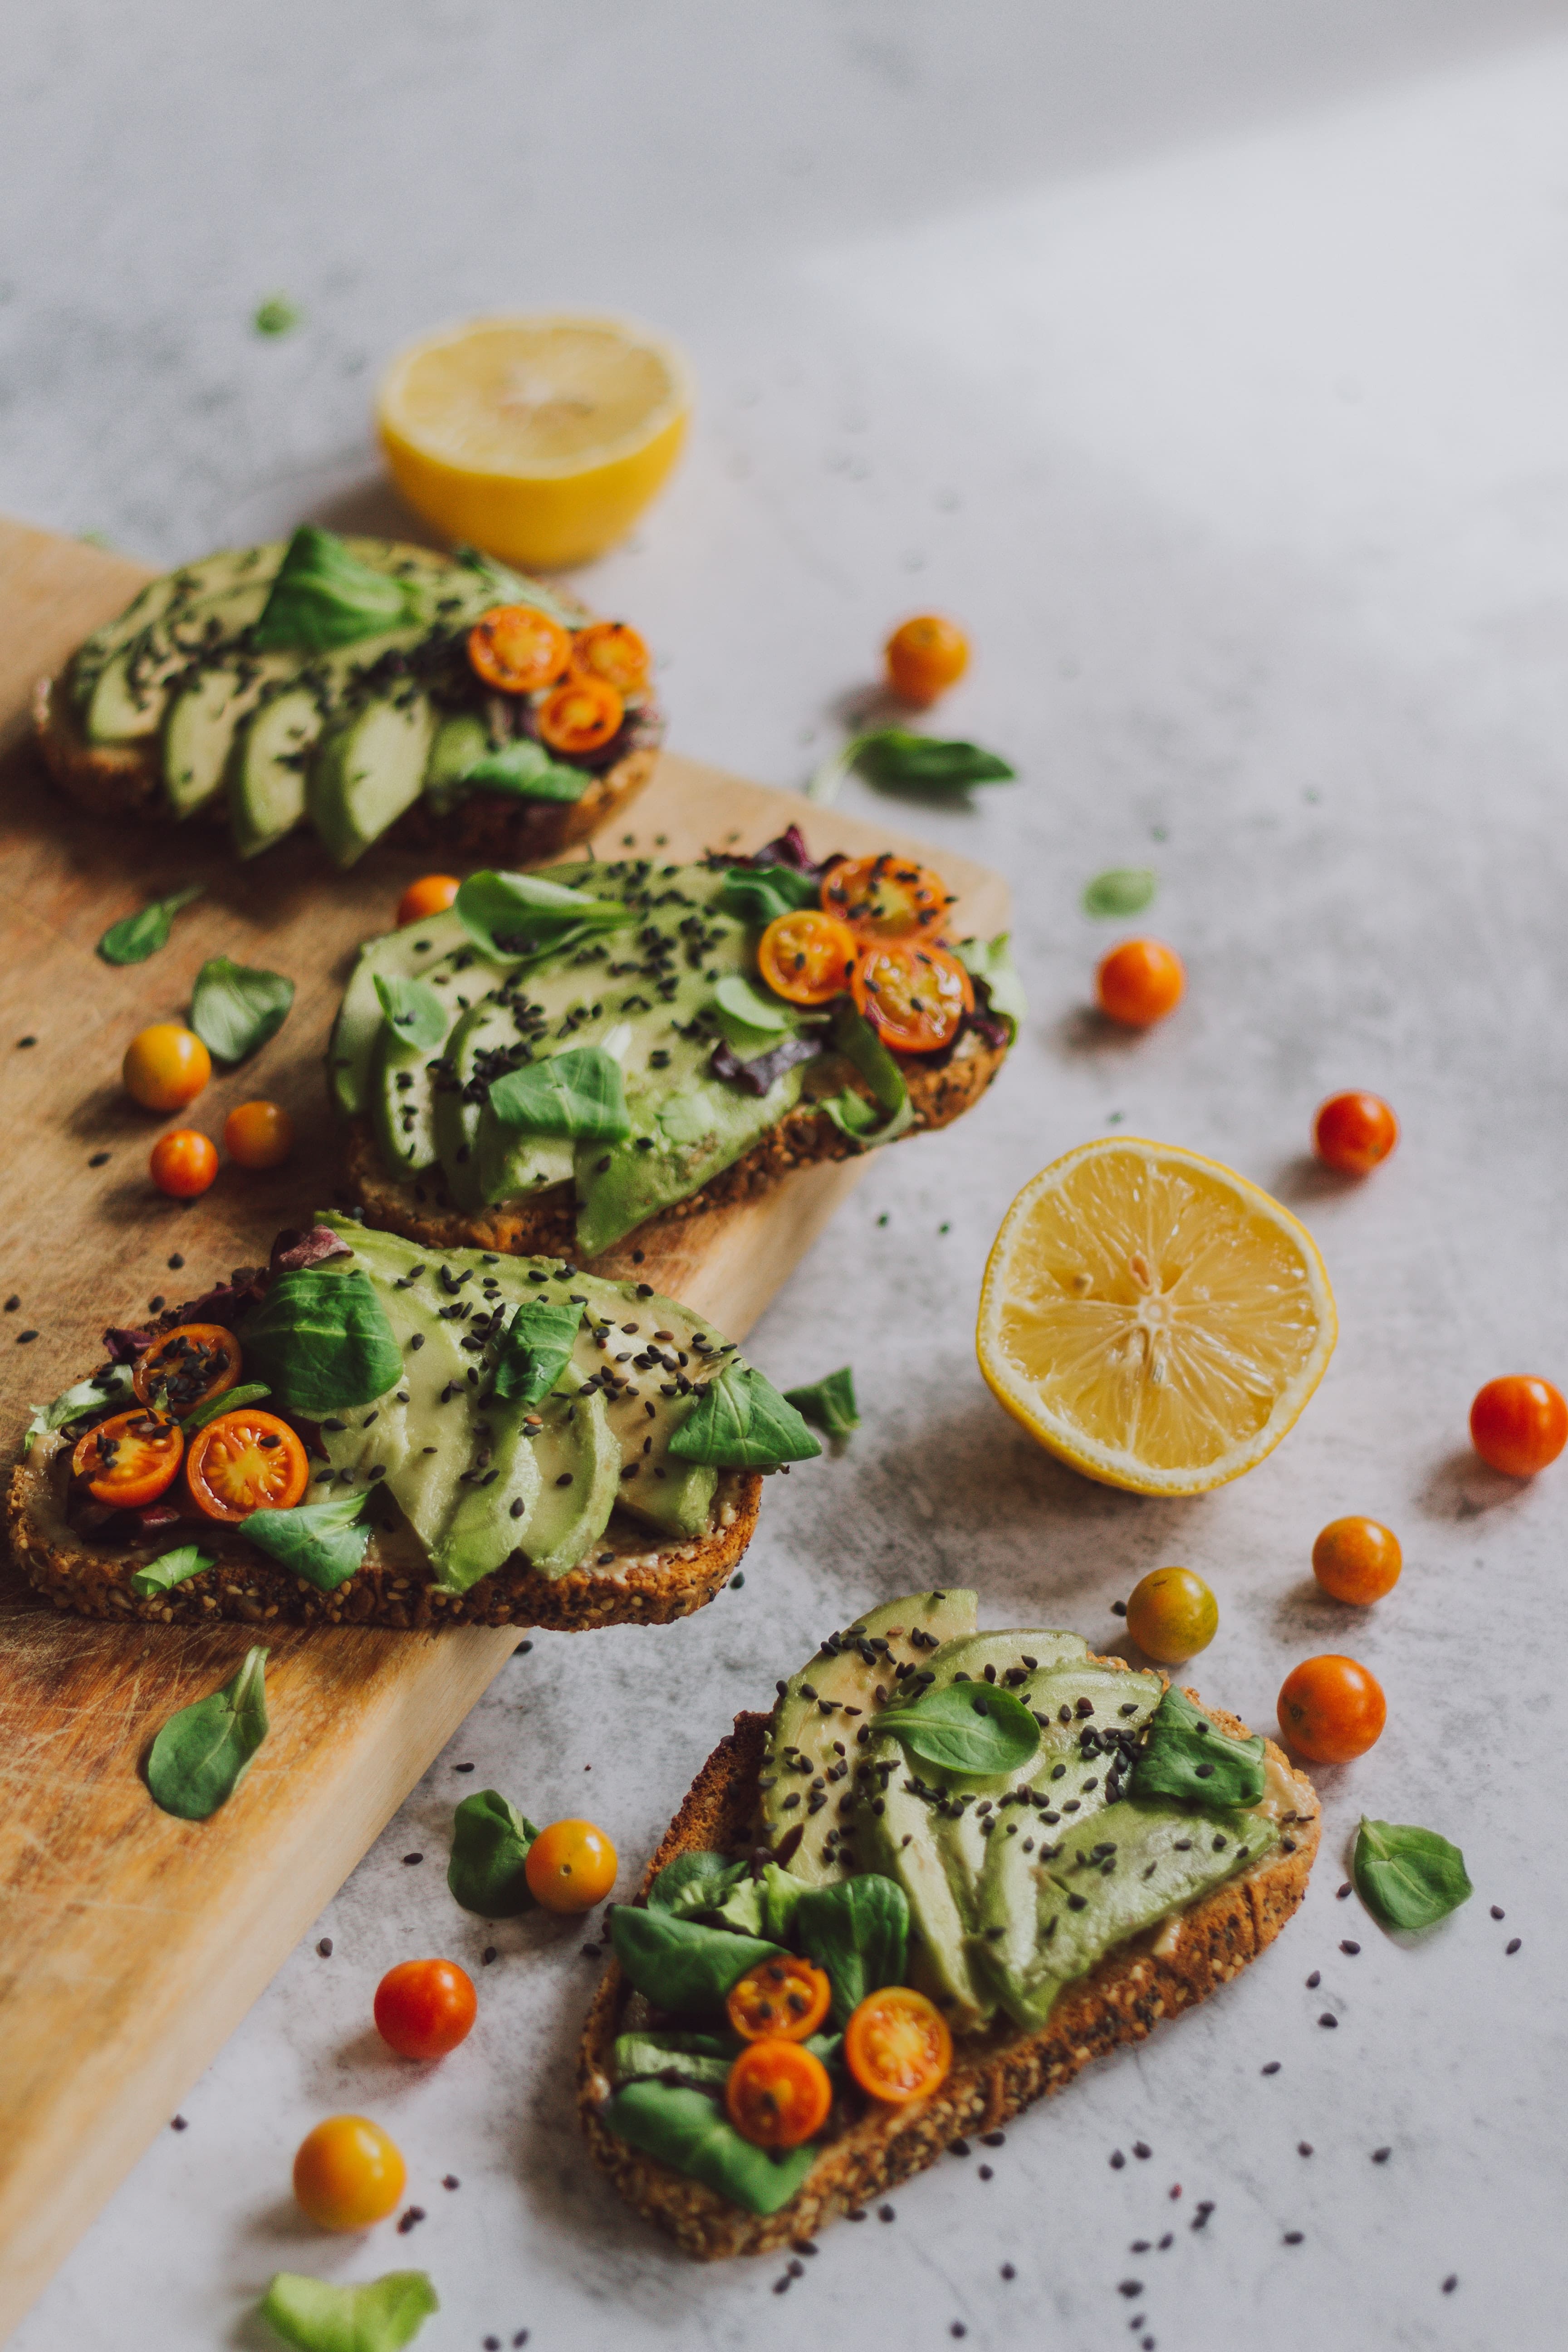
To focus on what’s most important to you, make the most of the camera zoom. Minimise the clutter but don’t zoom too much – you still want viewers to know what food they are looking at. Sometimes a specific food component is the most exciting part about the dish so zoom in on that perfectly thin slice of truffle to your heart’s content. But, for the perfect flat lay photo opt for the zoom-out. This is the ideal option when you’ve got a whole table packed full of colourful brunch dishes and quirky coffee cups.

Angles
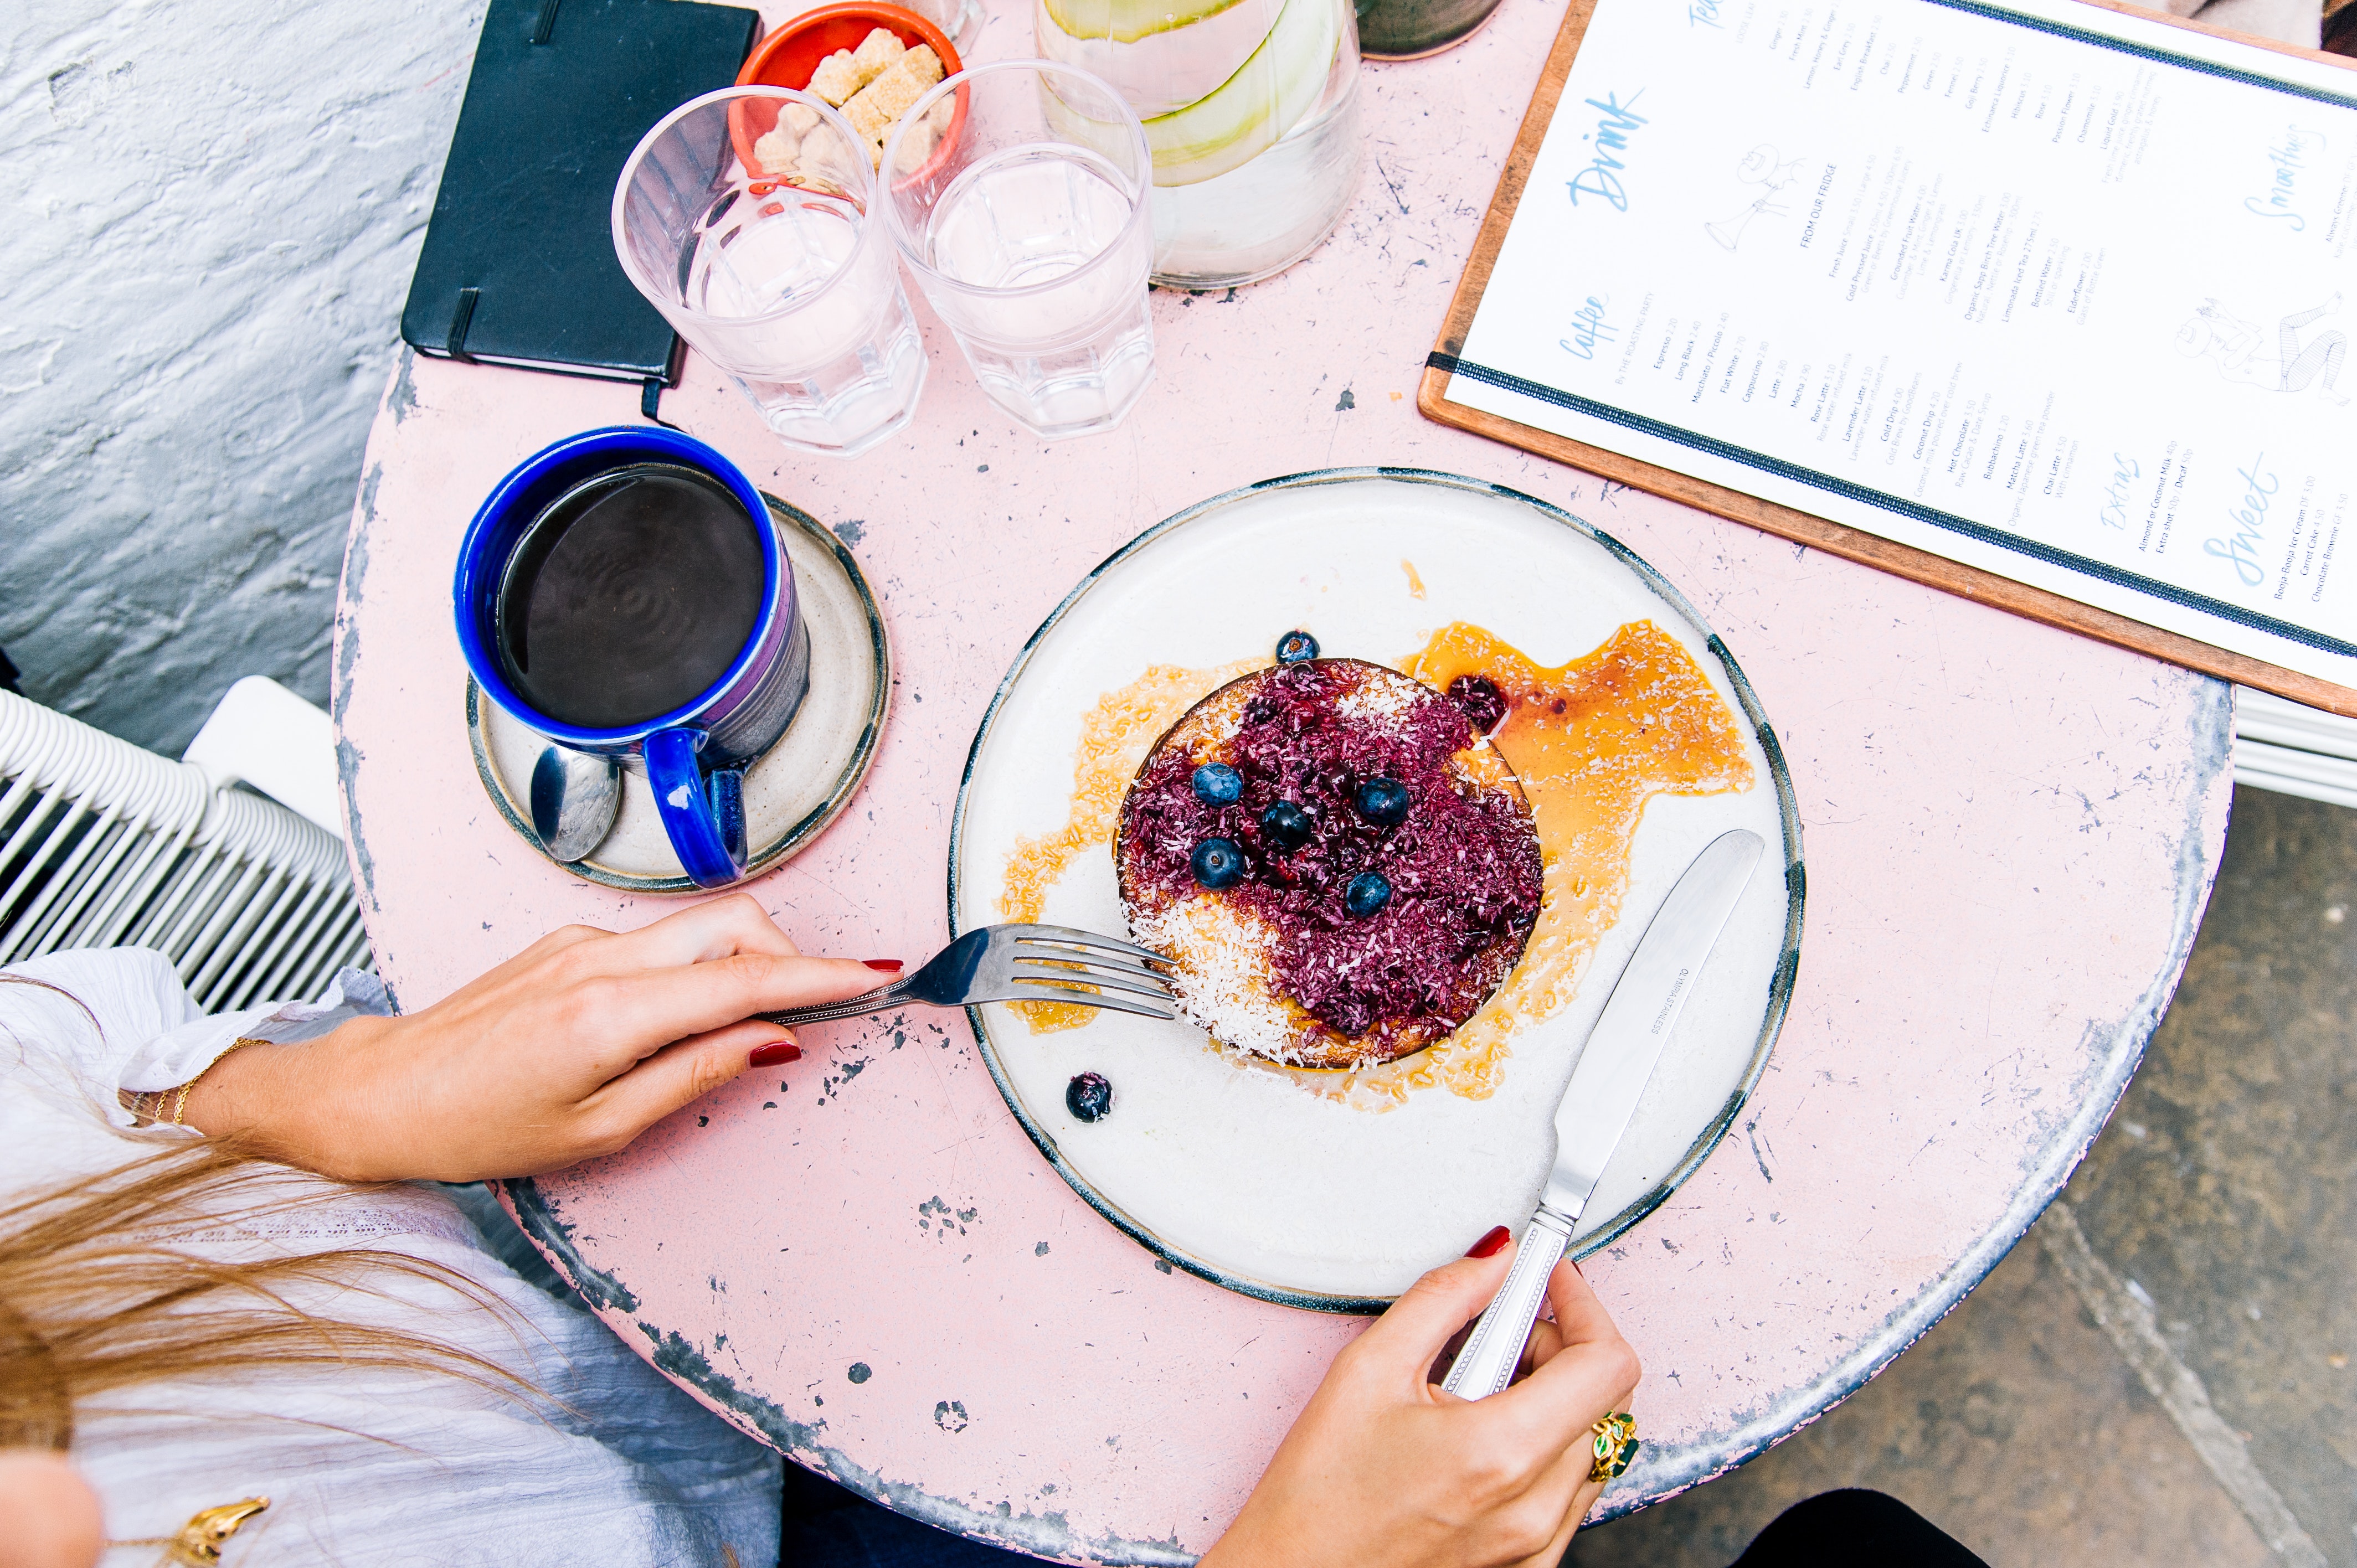
The perfect angle will depend on the food you’re photographing. So get flexible and start taking photos from multiple angles! The 45-degree angle is popular when photographing food as it showcases the whole dish from the front, and is also ideal for drinks. However, this won’t work with something like a taco. Take a shot from above instead. This is also ideal for any flat dishes like a Neapolitan pizza.
Backdrop
If your restaurant has some gorgeous wooden tops, marble tables or a sleek concrete bar, then you’ve already got the perfect backdrop. Consider incorporating interesting textures like crisp white tablecloths, linen in neutral colours, or even your menus. Once you find your signature look, keep adding it in your food photography for that consistent feel. Alternatively, you can also invest in a beautiful vinyl backdrop. That’s a great option if you want to gently pepper some of the ingredients all over it as it’s easily cleaned with a swift wipe.
Colours
When it comes to photographing food, clear colours are the ones to go for. Keep it realistic but don’t be afraid to make the colours pop. After all, the last thing you want is to go for really artificial tones and disappoint your customers once they arrive and realise the food looks nothing like the photo. Play with contrast. Think white cake against a deep blue background, pink salmon on a dark plate. It’s eye-catching and we’ve only got a few seconds of attention to play with.

Composition and framing
Now you know what food photography tricks such as the rule of thirds and the golden rule are, use them to your benefit with every shot you take. Place your hero dish front and centre, where the lines meet, and blur the rest of the subjects. Use props to lead your audiences’ eyes to the main subject and to create lines. Play with your angles. Check that the silverware is on the right side, the glasses have no fingerprints, the gelato scoop is perfectly round.
Try to use unique aspects of your restaurant to frame your image in different ways and tell a more intimate story. Why not add a personal touch and some dynamic to your food photo by adding some hands in there? A hand reaching for the dish or holding a glass makes the whole image look more realistic. After all, isn’t that exactly what you want your customers to be doing? Then show them.
Styling and props
This is where props come in. As mentioned above, used wisely they can lead the viewer’s eye towards the exact subject you want to focus on. You’re telling a story here. The story of your restaurant or coffee shop. So make this shine through your food photos. Think ceramic baking dishes and soft linen, vintage tableware and stemless wine glasses. Even your menu will add some personality to the shot! Mix fabrics for a textured look that will really elevate your image. Ingredients, sauces and oils will all work here too. Pinterest is your spot for all the food photography ideas you may need.
Plating
This dish represents your menu so plate it with great care and attention to detail. Your restaurant photography needs to be on par with what you’ll serve your customer. Pastel plates and stone bowls are increasingly popular thanks to their muted colours and rustic feel, which allows for the food to take centre stage.
Maybe scatter a few coffee beans across the top or sprinkle some powdered sugar over the plate. Anything that grabs the eye and speaks directly to the tastebuds is your friend.

Editing
If you followed all these food photography tips, the post-production process should be pretty straight-forward. Remember to keep it realistic, so avoid using harsh filters that completely take over the image. Instead, start with the basics. Fix the white balance and adjust the contrast, brightness and saturation levels to your liking. The goal should be to make the image pop. To do this, emphasise on the natural colours and don’t be tempted to up everything so much that you end up with neon food on your plate. If in doubt, hunt down photo editing tutorials on YouTube and photography blogs.
What makes for good food photography?
When it comes to an elite food photograph, you need to entice the eye, speak directly to the tastebuds, awaken the hunger even in someone who has just had a massive bowl of spag bol. A great food photo can do all that and more. Think of a high-quality image that looks nothing short of mouthwatering. It celebrates the dish and its star elements. No blurry shots in sight. No dark shadows hovering over the plate. How do you achieve all that?
First things first, think of your photo composition. Use Instagram and Pinterest for some food photography ideas. Scribble down how you envision your perfect shot. And then get to work. Your purpose is to arrange your object in a way where it’s immediately obvious what your main subject is. Your goal is to make everyone who sees that shot crave your dish like it’s their last meal and then some.
To achieve that perfect composition and frame your burger like a pro, remember the rule of thirds when photographing food. Imagine your frame is divided into nine squares and position your subject along those lines or at their intersections. Your phone or camera will most probably have the option to display this grid for you, so use this setting.

These areas naturally catch the eye, so think of what you really want to put the main focus on. Maybe it’s the whole plate, maybe it’s just the award-winning pistachio scoop of your gelato, or the American cheese slowly melting over a double cheeseburger. Make this centre stage. Take this to the next level by applying the golden ratio in photography – a ratio of approximately 1.618 to 1. It will really lift up your photo composition and make it look professional, even if you’re not a pro photographer yourself (yet).
The best way to use this in your food pictures is with the Fibonacci spiral. Now, this technique is a bit harder to master than the simple rule of thirds. But fear not, the more you practice, the better your pictures will get. Not just better. Outstanding.
Try to place your plate of food so it forms a flowing number nine, with your main subject right in the circle of the nine (your spiral!).
However, none of these food photography tips will matter without great natural light. Try to make the most of indirect daylight, positioning your oh-so-delectable food in a shady spot near a window. Just try your best to avoid the harshness of direct sunlight which can create too many shadows. Yes, your camera flash can have the same effect and drench your otherwise mouthwatering dish in harsh reflections and awkward glare.
If you make sure you nail the composition, framing and light, you’re already mastering the recipe of good food photography.
Lastly, don’t forget to have fun with it! It might seem like there are a lot of things to remember, but the truth is, just like everything else, the more pictures you take, the easier it will get. Let your food photography speak for itself and once you get all those hungry new customers in make sure that the whole experience is as seamless as possible.
Thankfully, that’s where we come in – get a Dojo card machine today and start taking card payments effortlessly. Setting up payments for your restaurant is easier than taking the perfect food picture. Plus, with their superfast sleek touchscreen, our card machines are so good-looking, you’ll be tempted to use them as a prop in your next food photoshoot. Don’t forget to tag us in the pictures if you do!